
Note: This functionality requires Window 10 or 11
Recording your screen and movements around it can be a very useful tool. It's helpful in both training and support, to show colleagues something specific that a screenshot just can't capture.
As of Windows 10, there are two built-in ways to do this:
1. Snipping Tool (a built-in app)
- Launch the Snipping Tool app from your Windows search in the task bar
- Click the video camera icon in the top toolbar
- Click "+ New" and select the physical area of your screen to record
- Click "Start" on the pop-up at the top
2. Game bar (a built-in app)
- Press Win + G on your keyboard to launch the built-in video capture software
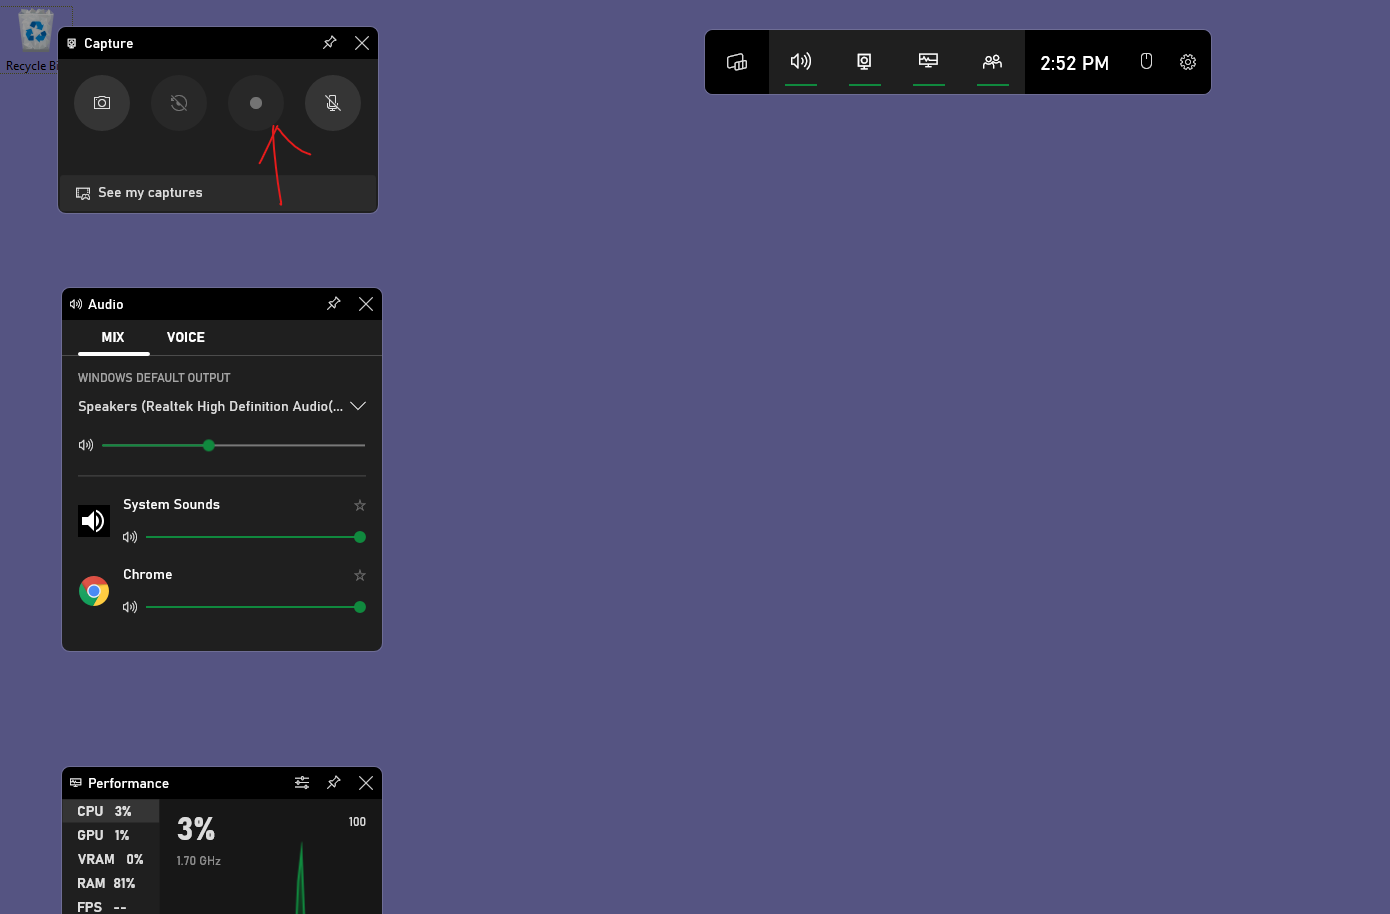
- Click on the Record button (in screenshot below) or press Win + Alt + R on your keyboard to start the recording
- Press Win + Alt + R on your keyboard to stop the recording since the capture software will disappear as you are recording your screen
- Once your recording is stopped, the video file is automatically stored in the This PC > Videos > Captures folder on your computer (folder path: C:\Users\<username>\Videos\Captures)
Here is a sample screen of the capture software. The red arrow is pointing to the record button:
Comments
0 comments
Please sign in to leave a comment.